Getting Started with Apibara
Apibara is the easiest way to build production-grade indexers:
- Stream onchain data into your indexer, receiving exactly the data you need.
- Transform the data into a higher-level representation that maps to your application domain.
- Integrate data with the rest of your application by sending it to other services.
                                Transform
┌──────────────┐             ┌──────────────┐              ┌──────────────┐
│              │░            │              │░             │              │░
│     DNA      │░  Stream    │   Indexer    │░ Integrate   │    Target    │░
│    Server    │────────────▶│    Script    │─────────────▶│ Integration  │░
│              │░            │              │░             │              │░
└──────────────┘░            └──────────────┘░             └──────────────┘░
 ░░░░░░░░░░░░░░░░             ░░░░░░░░░░░░░░░░              ░░░░░░░░░░░░░░░░
This page will guide you in setting up your development environment for Apibara and writing your first indexer.
Install the CLI tool
Install the apibara CLI by running the following command. Note that you need
jq install for this to work. Alternatively, you can download the CLI from our
release page and manually add it to
your $PATH.
curl -sL https://install.apibara.com | bashAfter this, create a new terminal and check that apibara is installed:
apibara --versionapibara-cli 0.4.0
If the command above prints apibara: command not found it means that the
Apibara directory is not in $PATH. To fix it, make sure that the Apibara
directory is in $PATH, the directory is system-dependent and is printed during
the installation phase.
Managing plugins
Apibara doesn't include any integration out of the box. Integrations are a special type of plugin and are managed using the CLI.
List the installed plugins using the following command. Note that, as expected, no plugin is installed.
apibara plugins listWe use the apibara plugins install command to download and install plugins
from GitHub.
For this tutorial, we install the "console" plugin since it requires no external dependency or service.
apibara plugins install sink-consoleFound release Console Sink v0.1.0
Downloading sink-console-x86_64-linux.gz...
Plugin console installed to /home/user/.local/share/apibara/plugins/apibara-sink-console
Now we can list the plugins again to check that the plugin was installed correctly.
apibara plugins list╭─────────┬──────┬─────────╮
│ NAME │ KIND │ VERSION │
├─────────┼──────┼─────────┤
│ console │ sink │ 0.4.1 │
╰─────────┴──────┴─────────╯
Creating an Apibara account and API Key
Head over to the registration page to create an Apibara account.
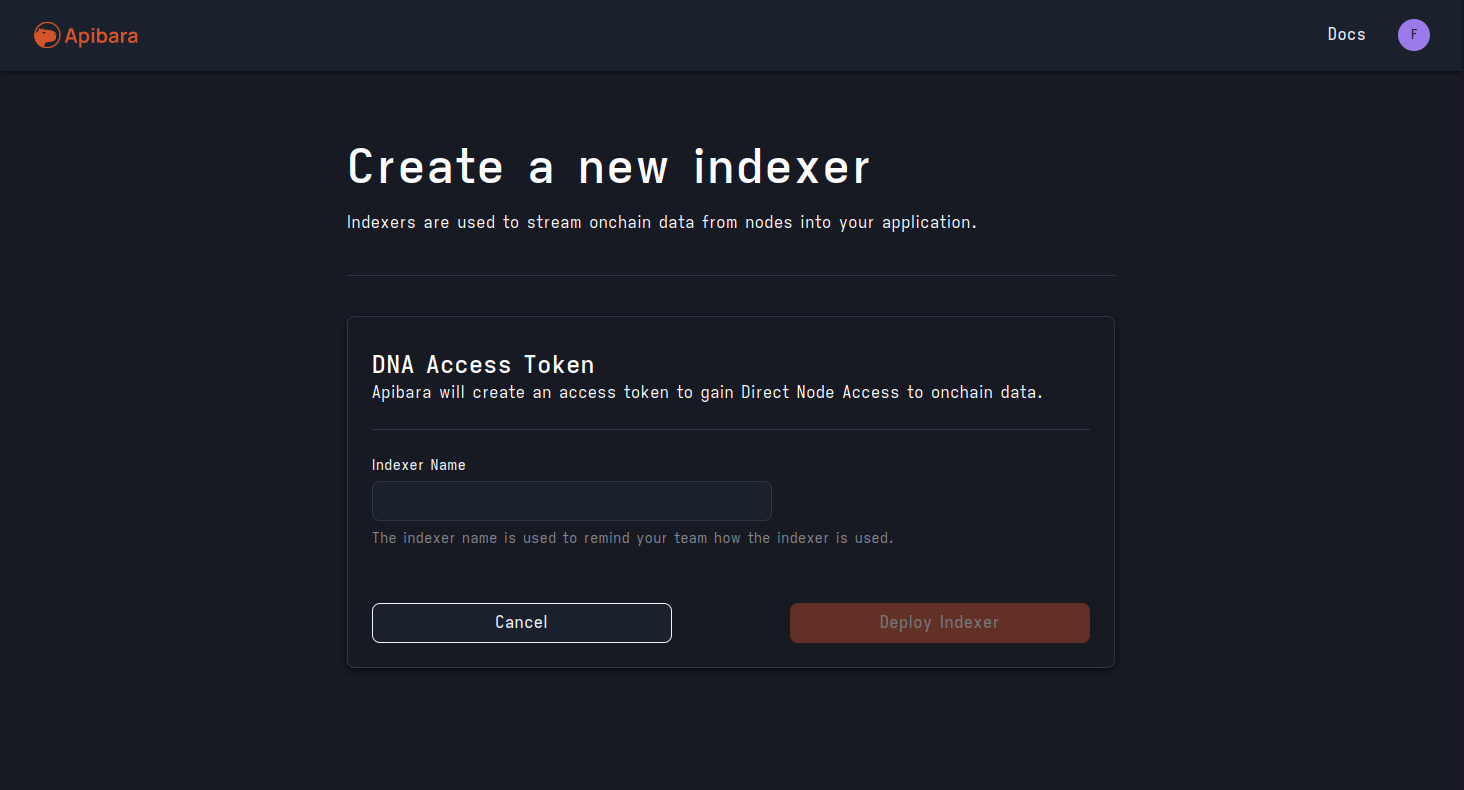
From your dashboard, click on the "New Indexer" button and then select "DNA Key". Choose a memorable name for your API Key and then click "Deploy Indexer".
Finally, copy the API Key to your clipboard. Notice that you can come back to this page at any time from your dashboard.
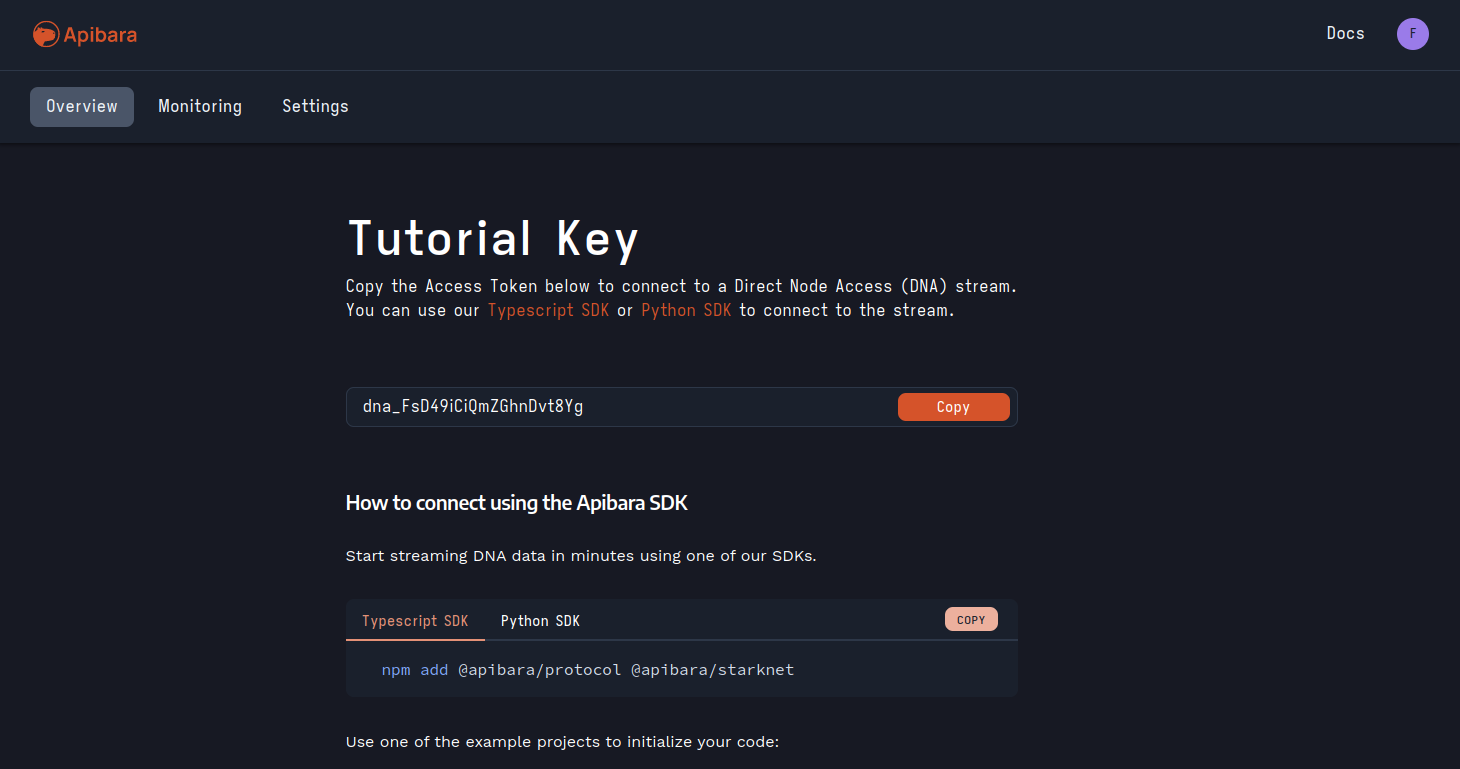
As we will see in the next section, you will need the API Key to authenticate with the data streams hosted by Apibara.
Your first indexer
Indexers are implemented as Javascript or Typescript scripts. Scripts need to export at least two things:
- a
configobject that contains the indexer configuration. - a default function, used to transform each batch of data streamed by Apibara.
A minimal script looks like the following:
export const config = {
  streamUrl: "https://sepolia.starknet.a5a.ch",
  startingBlock: 10_000,
  network: "starknet",
  finality: "DATA_STATUS_ACCEPTED",
  filter: {
    header: {},
  },
  sinkType: "console",
  sinkOptions: {},
};

// This transform does nothing.
export default function transform(block) {
  return block;
}
You can run it using the apibara run command. Notice that you need a free API
key from Apibara to consume the hosted stream.
apibara run script.js -A dna_xxxThe indexer script is a self-contained script that is used by Apibara to configure and transform the data stream. If you try to run the script directly using, for example, Node.js or Bun it will not do anything.